Introducción/ Calentamiento
- Ask if anyone in the class has ever walked in the woods or in a park. Ask if anyone has ever climbed a tree.
- Have them stand up and pretend to be trees. Tell them: Our feet are the roots that hold us in the ground. Our legs and body are the trunk of the tree. Our arms are the branches of the tree. Now we are going to pretend that there is no wind—we will all stand still. Now we are going to pretend that there is a lot of wind. What will that make our branches do? Now the wind has stopped. Sit down, and you are going to see a sculpture of a tree.
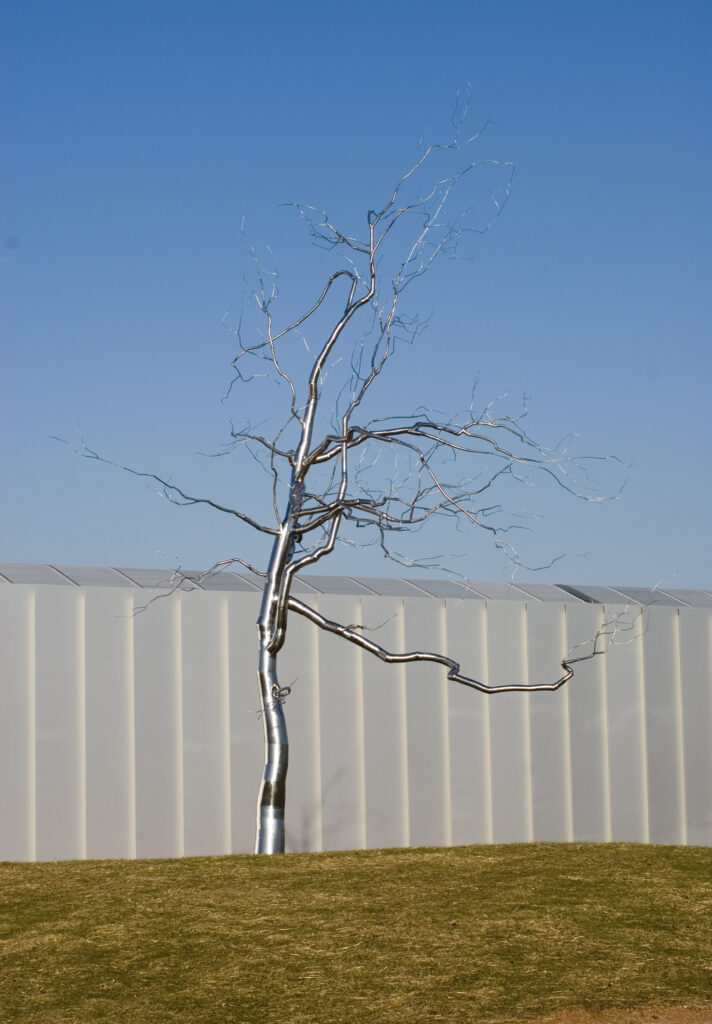
- Invite students to make observations about Askew. What do you see? How is it different than a real tree? How is it similar?
- Go outside to observe a real tree, or show an image of a tall tree. Discuss how the tree stands up. Where is it planted? What keeps it upright? How is it balanced? When does it fall over? Review the parts of the tree (roots, trunk, branches).
- Tell students they will be creating their own sculpture of a tree. Tell them that often when sculptors like Roxy Paine make a big sculpture, they will put something solid inside to make sure it will stand up. They will have to experiment with their own sculptures to make sure they stand up like a tree.
Procedimiento de la actividad de enfoque
- Demonstrate how to create a tree. First, show the students how foil, by itself, is floppy. It needs something to make it strong. Ask students to feel their arms and legs. What do they have that makes them strong? (bones!) Ask students for ideas for how to make the foil less floppy. Demonstrate one solution: using a small branch as the “bone.”
- Wrap the branch with foil. This will be the “trunk.”
- Next, demonstrate how to carefully construct branches for the tree by scrunching tinfoil into small rolls and adding them to the trunk. A good way to explain this is to say that the foil is giving the trunk a “hug” and wrapping itself around the trunk. If the foil tears, it can be scrunched back together.
- Tell students they will each have a few sheets of foil to begin but that if they need more to raise their hand and ask.
- Last, ask students for ideas for how to “root” their trees so they stand up. Accept ideas. Demonstrate one solution: “planting” the tree in floral foam. This step will be completed by the teacher. Excuse students to begin sculpting their trees.
- When students are finished creating their tree, teachers will write their name on the base in marker.
- If classroom space permits, students can combine their trees into a forest installation.
Cerrar
- Limpia.
- Gather class for closing routine and conversation about their trees. How are they different? How are they the same? Review the parts of the tree (branch, trunk, roots).
- Ask students to share ideas for other sculptures they could create using tinfoil. Would you like to make a tinfoil sculpture at home? How could you make a really big tinfoil sculpture? What was tricky about making a sculpture with tinfoil? What was easy about making a sculpture with tinfoil?
- Pide a los alumnos que busquen el arte a su alrededor en casa y en la escuela.
Escrito por Andrea Saenz Williams
Vocabulario
tinfoil
Materiales
Tinfoil
small branches (collected from outside)
3” florist foam or other foam, marker
Actividades de extensión para profesores
- Create a forest installation in the classroom with all of the trees made by your students.
- Ask students to brainstorm other ideas for sculptures they would like to make with tinfoil. Set out tinfoil in a center to see what they come up with!
- Decorate the foam on which the trees stand. Add “grass” (torn green construction paper). If plastic animals are in the classroom, add them to the sculptures. Invite students to look at their sculptures as changing objects instead of finished works of art.
Actividades de extensión para las familias
- Notice public art in your neighborhood. Take a walk around the school’s campus. Is there public art to see? (Sometimes it is inside; sometimes it is outside. Sometimes it is a sculpture; sometimes a painting.)
- Visit the NCMA Museum Park.
- Visit downtown Raleigh and see the sculpture of Sir Walter Raleigh. Talk about why it is there.
Suggested Books for the Classroom Library
Luxbacher, Irene. 1 2 3 I Can Sculpt! Kids Can Press, 2007. [ISBN 973-1-55453-038-0]
Raczka, Bob. 3-D ABC: A Sculptural Alphabet. Millbrook, 2007. [ISBN 978-0-7613-9456-3]
Thomas, Isabel. Sculpting. Heinemann Library, 2005. [ISBN 978-1-40346-921-2]
Thomas, Isabel. Sculptures. Heinemann Library, 2012. [ISBN 978-1-43295-017-0]
Wallace, Nancy Elizabeth., and Linda K. Friedlander. Look! Look! Look! At Sculpture. Marshall Cavendish, 2012. [ISBN 978-0-7614-6132-6]